Olist Case Study · Lab 05
Olist Data Preparation
Prepare your imported Brazilian E-Commerce dataset for advanced modeling. In this lab, you will disable relationship auto-detection, load nine relational tables, construct a unified fact table via query merges, translate categories to English, handle duplicate entries, and clean up column details in Power Query.
You are building a comprehensive executive e-commerce dashboard for Olist. The data contains raw transactional records spread across multiple dimensions. Before setting up relationships or writing DAX formulas, you must perform essential ETL (Extract, Transform, Load) tasks to clean the tables and establish a single fact-oriented star schema.
1
Data Loading & Environment Setup
Configure Power BI options and load the raw CSV files
Disable Automatic Relationship Detection: To prevent Power BI from automatically creating relationships based on column names, go to File → Options and settings → Options. Under the Current File section on the left, click Data Load and uncheck "Import relationships from data sources on first load" and "Autodetect new relationships after data is loaded".
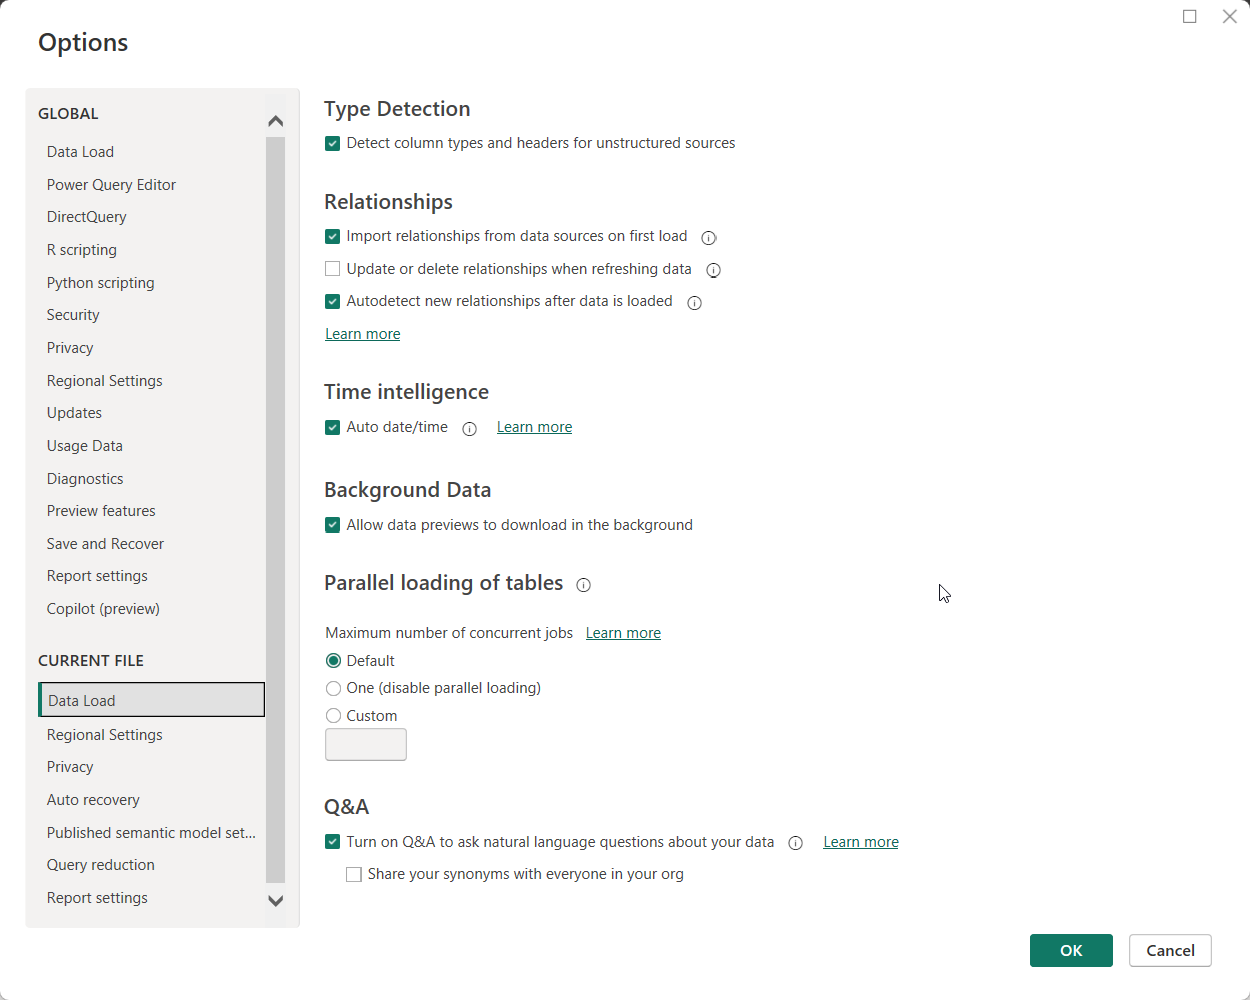
Deactivating relationship autodetection under Current File Data Load options.
Load the Tables: In Power BI Desktop, click Get Data → Text/CSV. Navigate to the extracted datasets folder, select your CSV files, and click Open. Repeat this for all 9 tables in the dataset.
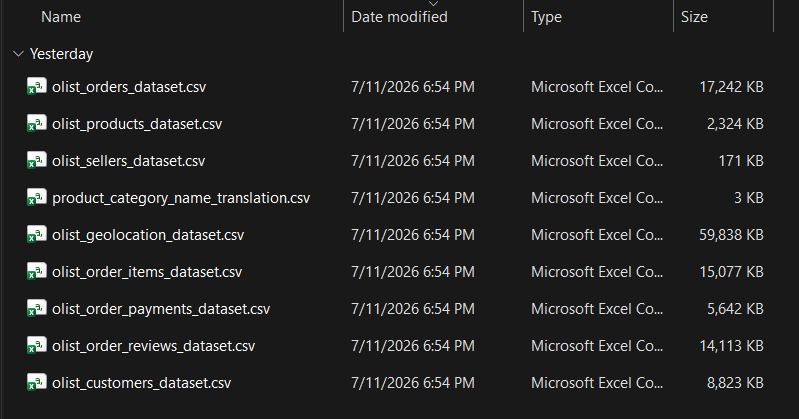
Selecting and loading the 9 tables from the Olist datasets directory.
Transform Data Option: For each CSV import dialog, make sure to click Transform Data to open the Power Query Editor rather than loading them directly into the report view.
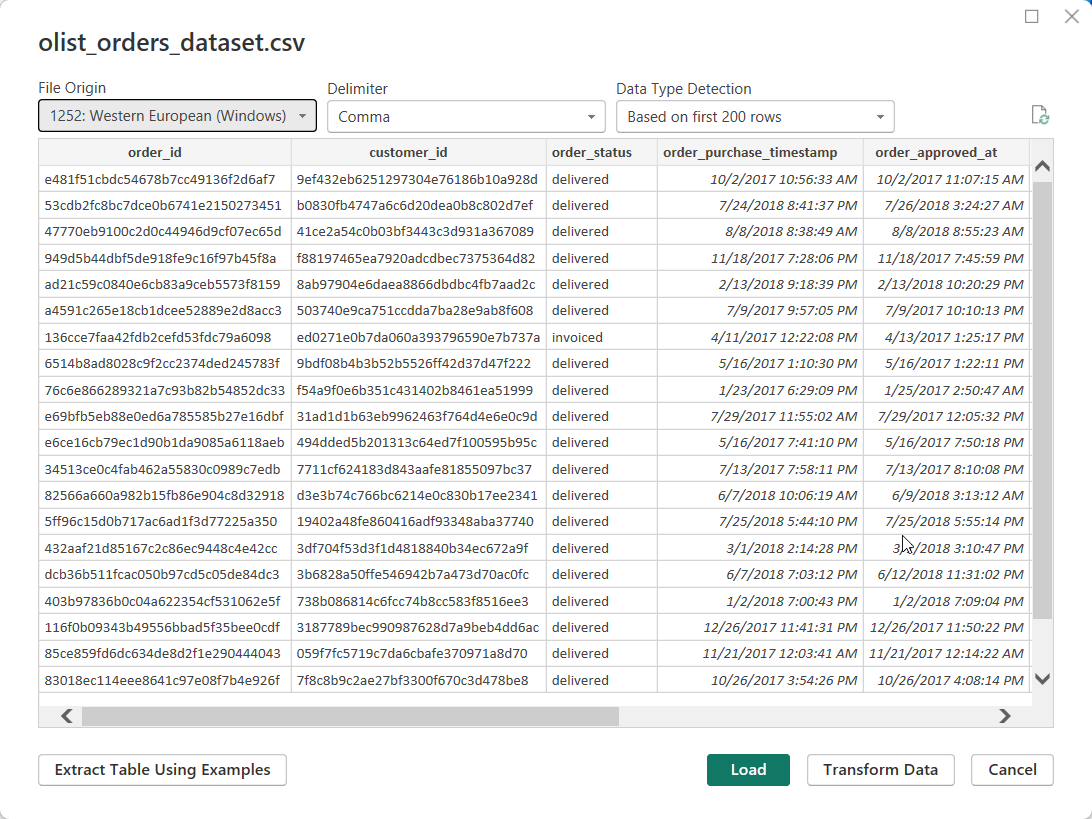
The CSV loading interface showing Load and Transform options.
Verify Loaded Tables: Once loaded into Power Query, ensure all 9 queries are listed on the left pane and visible under the Data pane in the report workspace.
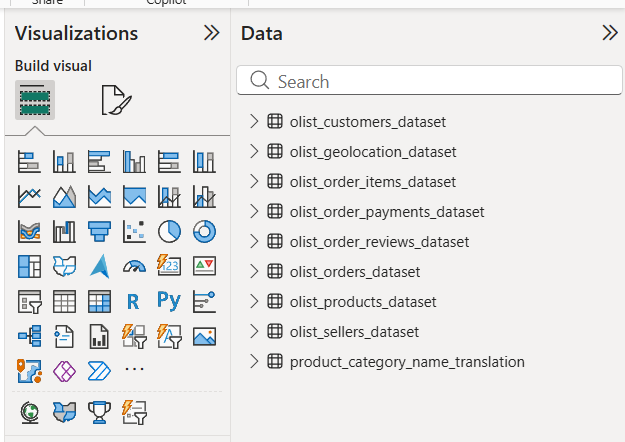
The 9 successfully loaded Olist queries in the Data panel.
2
Construct Central Fact Table
Combine order transactions and line-item details
Initiate Merge as New: Open Power Query Editor. Under the Home tab, click the dropdown next to Merge Queries and select "Merge Queries as New".
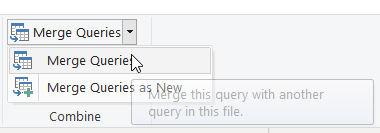
Selecting Merge Queries as New under the Home ribbon.
Set Up Merge Queries: Select
olist_orders_dataset as the first (top) table and select olist_order_items_dataset as the second (bottom) table. Click on the order_id column in both previews to select it as the matching key. Use the default Left Outer join type and click OK.
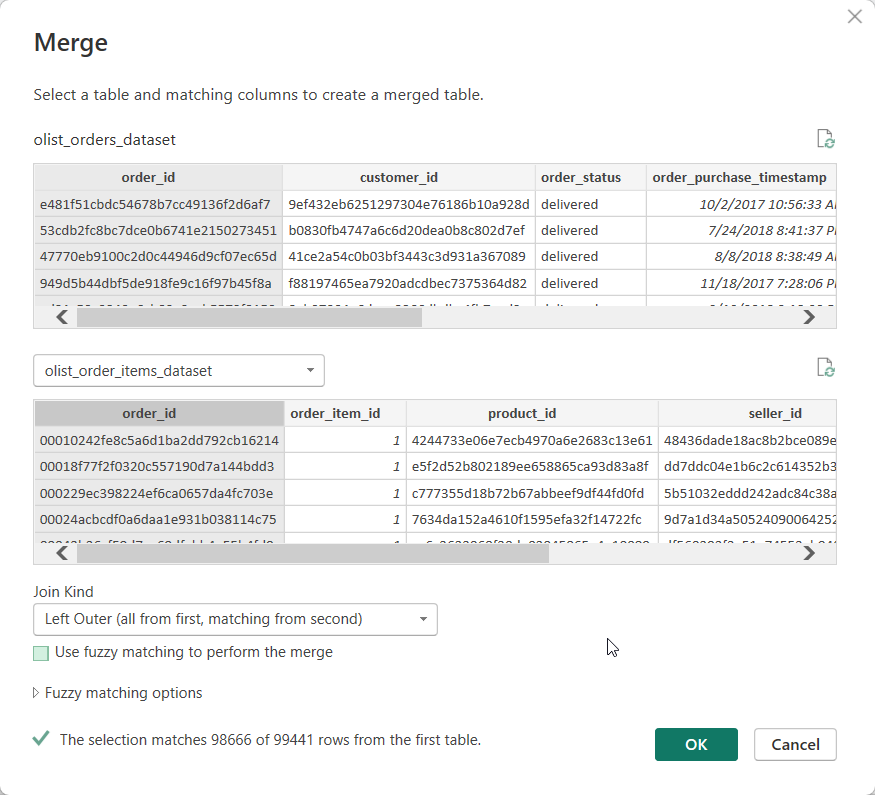
Configuring the relationship key (order_id) in the Merge Queries dialog.
Rename Fact Table: A new query named
Merge1 will be created. Rename it to Fact_Orders. It will show a structured table column at the end containing matching order items records.
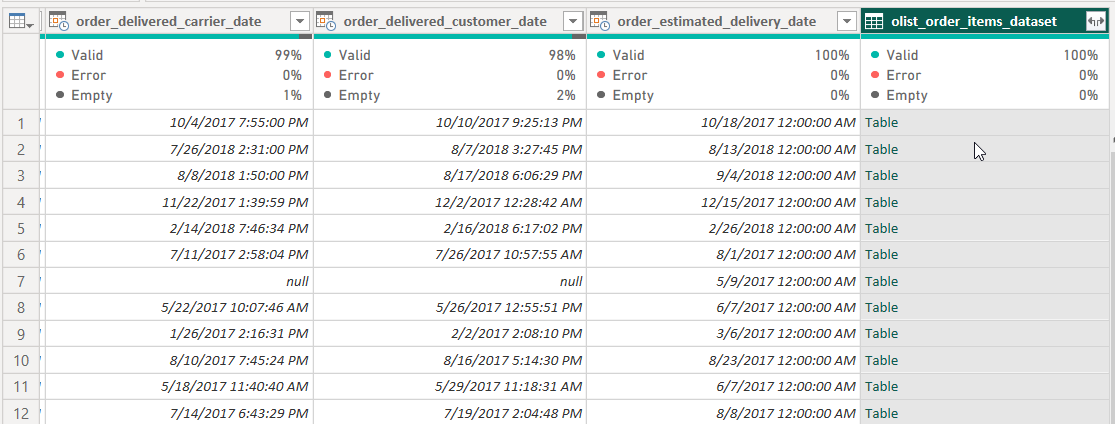
The resulting merged fact table, with the order items table column at the end.
Expand Matching Fields: Click the Expand icon on the top-right of the newly merged column. Uncheck all fields except
product_id, seller_id, price, and freight_value. Uncheck "Use original column name as prefix" and click OK.
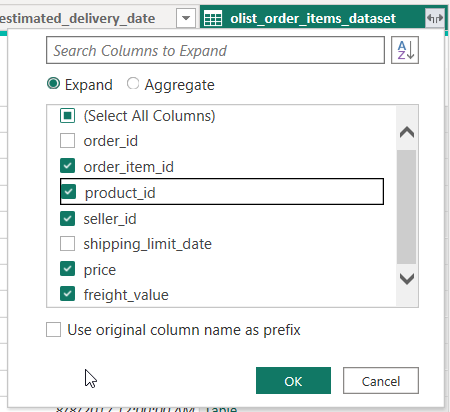
Selecting item-level metrics and identifiers to extract into the fact table.
3
Translate Product Categories
Promote headers and resolve Portuguese category names to English
Identify Missing Headers: Select the
product_category_name_translation query on the left. Note that the actual column headers (product_category_name and product_category_name_english) are stuck in the first row of data, while the query headers display generic values like Column1 and Column2.
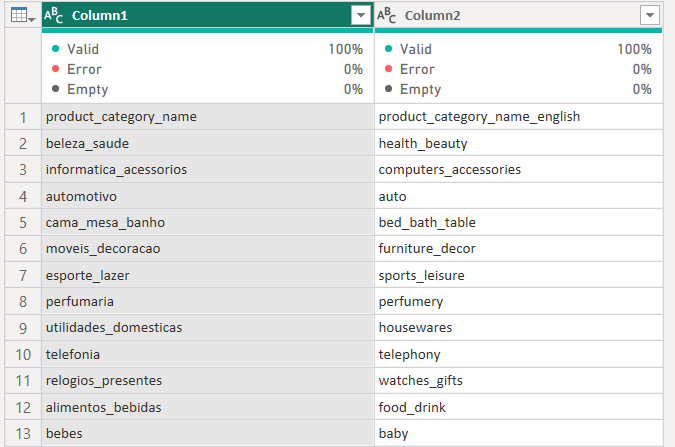
Checking the raw translation dataset with column headers in the first data row.
Use First Row as Header: In the Home tab, click the "Use First Row as Headers" button in the transform group. This promotes the first data row into the column headers correctly.
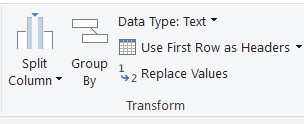
Promoting headers via the Use First Row as Headers command.
Merge Category Translations: Select the
olist_products_dataset query. Click Merge Queries under the Home tab. Select the product_category_name_translation table as the matching table, highlight the product_category_name column in both tables, and click OK.
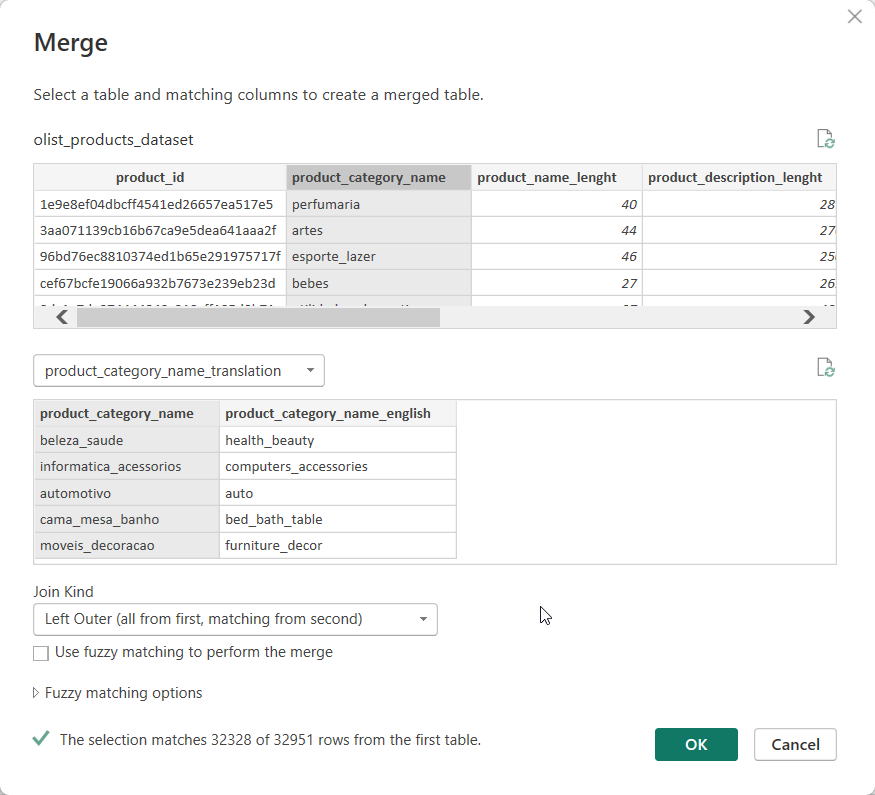
Setting up translation query merge between products and English translations.
Expand English Translation: Expand the translation column at the end of the products query. Select only
product_category_name_english, uncheck the prefix checkbox, and click OK.
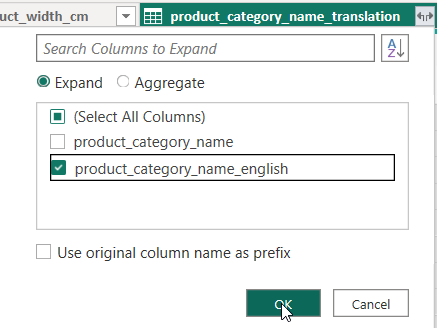
Extracting only the English translation category column.
4
Data Deduplication & Dimensional Cleaning
Perform data cleaning on geolocation and orders data
Remove Duplicates in Geolocation: Select the
olist_geolocation_dataset query. To make sure we have unique zip codes for linking coordinates, highlight the geolocation_zip_code_prefix column, navigate to the Home tab, click Remove Rows, and click Remove Duplicates.
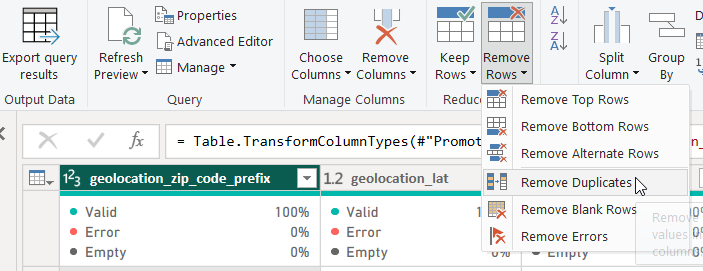
Applying Remove Duplicates to unique zip code prefixes.
Remove Unnecessary Dates Columns: In your main
Fact_Orders table, select the columns order_approved_at, order_delivered_carrier_date, order_delivered_customer_date, and order_estimated_delivery_date. Right-click on one of the selected column headers and choose Remove Columns.
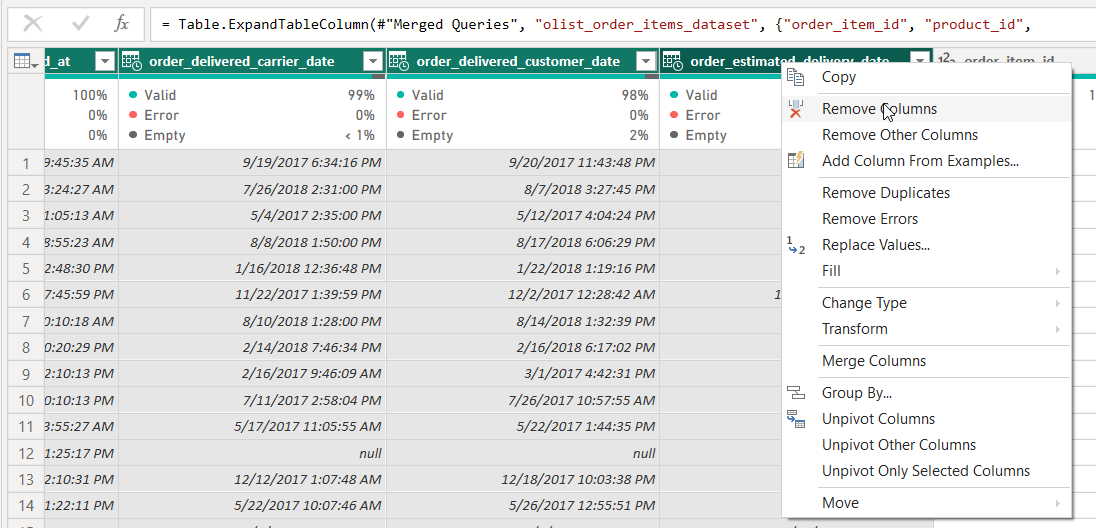
Selecting and removing multiple operational date columns to optimize query performance.
Format Order Purchase Date: In the
Fact_Orders table, locate the order_purchase_timestamp column. Right-click the header, choose Change Type, and select Date. This removes the time portion, leaving only clean dates. Right-click the column again and rename it to order_date.
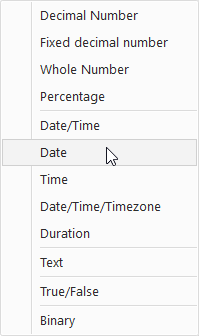
Converting timestamp column to Date type and renaming it.
Close and Apply: In the top left corner of the Power Query Editor, click Close & Apply. Power BI will commit the transformations and load the cleaned tables into your data model.